Recipe: Ricotta, Berries, and Dark Chocolate

Indulgence meets nutrition in this delightful ricotta and berries with dark chocolate snack. Creamy ricotta cheese forms the perfect canvas for a vibrant medley of fresh berries, while dark chocolate shavings add a touch of decadence. This snack is not only a treat for your taste buds but also a nourishing choice, as ricotta is rich in protein and calcium, and berries are bursting with antioxidants. Whether you savor it as a mid-afternoon pick-me-up or a guilt-free dessert, this sweet and creamy creation will satisfy your cravings and leave you feeling energized. Embrace the joy of mindful snacking with this simple yet divine combination!

Ricotta, Berries, and Dark Chocolate

Ingredients

Serves: 1

3/4 cup mixed berries, fresh or frozen
1/2 cup plain ricotta cheese
1-2 oz 70-80% dark chocolate
Optional: Maple syrup

Instructions

  • If using frozen berries, begin by thawing them in the microwave. Place in a small bowl and top with ricotta cheese. Break up dark chocolate and sprinkle on top. The juice from the frozen berries may be enough to sweeten the ricotta cheese. However, if you are using fresh berries or just like a little extra sweetness, drizzle 1-2 tsp of maple syrup over the berries, ricotta, and chocolate. Enjoy!

Print Friendly and PDF

Recipe: Crunchy Cannellini

Looking for a wholesome and satisfying snack or side dish? Look no further than our crispy baked cannellini beans! These little powerhouses of flavor and nutrition are tossed in a savory blend of olive oil, garlic, samba oelek, and a pinch of sea salt before being roasted to crispy perfection in the oven. The result? A crunchy and addictive snack that's not only delicious but also packed with protein and fiber. Whether you're looking for a guilt-free movie night treat or a nutritious addition to your salad, these crispy baked cannellini beans are sure to hit the spot. Give them a try, and you'll never look at beans the same way again!

Crunchy Cannellini

Ingredients

2 cans cannellini (white kidney beans), drained and rinsed
2 tbsp olive oil
1 tsp salt & pepper to taste
1⁄2 tsp garlic powder
1 tbsp sambal oelek

Instructions

  • Add all the ingredients onto a parchment lined rimmed baking sheet and mix. Spread out in a even layer and bake 425 degrees F for 35-40 minutes.

Print Friendly and PDF

Recipe: Cheddar Crostinis

Indulgence meets simplicity with these irresistible Cheddar Crostinis. Crispy baguette slices, toasted to golden perfection, provide the ideal canvas for the star of the show: sharp cheddar cheese. As it melts and melds with the warm bread, a symphony of flavors and textures unfolds. Combine a dollop of tangy dijon and a sprinkle of fresh herbs for a mouthwatering combination that's as elegant as it is easy. These Cheddar Crostinis are the ultimate crowd-pleaser, perfect for your next gathering or even a quiet evening in – a true testament to the magic of uncomplicated, yet utterly delicious, appetizers. Oh, and they’re also the perfect accompaniment to my Oven-Roasted Tomato Soup.

Cheddar Crostinis

Ingredients

3/4 cups shredded extra-old Cheddar cheese
2 tablespoons chopped fresh parsley
4 teaspoons Dijon mustard
16 slices (1/2 inch thick) baguettes

Instructions

  • Mix Cheddar cheese with parsley. Spread mustard over baguette slices; top with cheese mixture. Bake on parchment paper–lined baking sheet in 425 F (220 C) oven until cheese is melted and bread is golden, about 8 minutes. Let stand for 2 minutes before serving with soup. Enjoy!


Print Friendly and PDF

Recipe: Oven-Roasted Tomato Soup

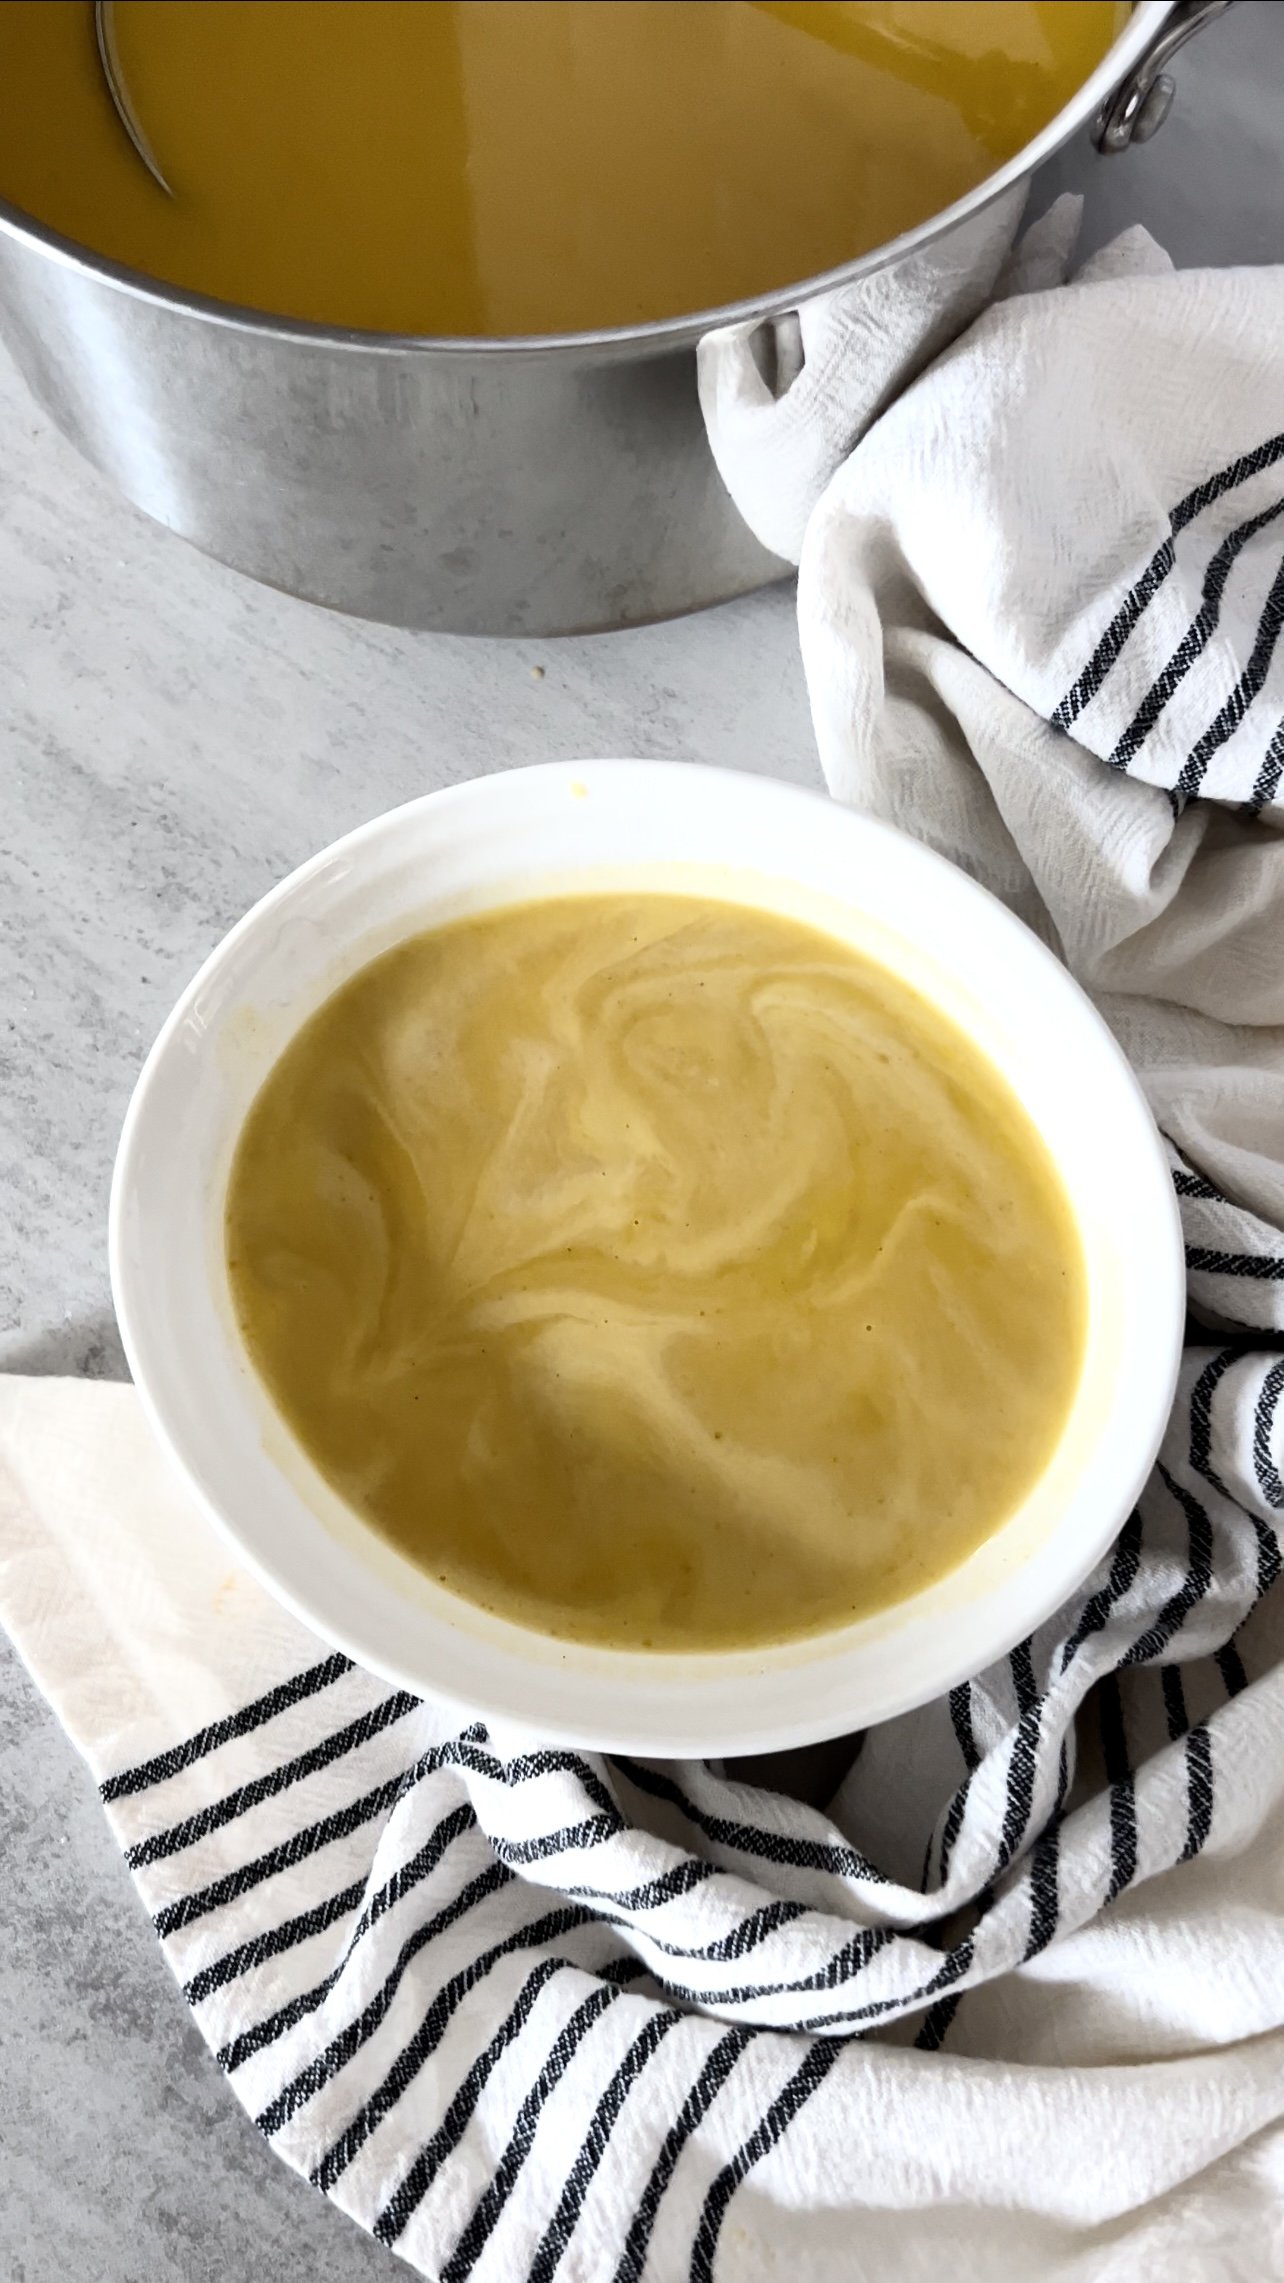
There's nothing quite like the comforting embrace of a warm bowl of Oven-Roasted Tomato Soup on a crisp autumn day. This velvety concoction is a symphony of flavors, with plump tomatoes roasted to perfection, their natural sweetness intensified, and a medley of aromatic herbs and garlic. Each spoonful is a journey through rich, savory goodness, a perfect blend of comfort and indulgence. Whether enjoyed as a hearty meal on its own or paired with a my Cheddar Crostinis, this Roasted Tomato Soup is the epitome of cozy, making it a must-have addition to your fall recipe repertoire.

Oven-Roasted Tomato Soup

Prep Time: 15 minutes 

Cook Time: 40 minutes 

Total Time: 55 minutes

Ingredients

 2 lb ripe tomatoes, halved
1 red onion, quartered
1 head garlic, cut the top off
Handful basil
A drizzle of olive oil
Salt and pepper to taste
1 tsp dried basil
½ tsp dried oregano
1 teaspoon chili flakes
1 cup vegetable stock

Instructions

  • Heat the oven to 400°F

  • Line a rimmed baking sheet with parchment paper. Add the onion, garlic bulb and halved tomatoes and spread them out into an even layer. Drizzle olive oil overtop everything and coat the top of the garlic bulb.  Sprinkle with salt, ,pepper, basil,oregano, and into the oven to roast for 30-40 minutes until the tomatoes become very soft and start to caramelize around the edges.

  • Carefully squeeze the bottom of the garlic to release the cloves. Once everything has cooled add all the ingredients to a blender with the vegetable stock, chili flakes and blend on low gradually increasing to a medium speed.

  • Top with salt and cracked pepper and serve. 

  • TIP: if your Tomatoes Soup is very acidic and borderline bitter, add baking soda! Just a pinch or ½ teaspoon of baking soda will help balance the excess acid. Add the baking soda into the blender before you blitz the soup. Enjoy!


Print Friendly and PDF

Easy Chicken Marinade

Introducing our mouthwatering Marinated Chicken recipe, the secret to succulent, flavorful poultry that's a breeze to prepare. This recipe starts with tender chicken breasts marinated in a blend of aromatic herbs, onion and a hint of garlic. As the chicken soaks up these vibrant flavors, it becomes a star on the grill or in the oven. Whether you're firing up the barbecue for a weekend cookout or looking for a quick weeknight dinner, this Marinated Chicken will never disappoint. So, let the marinade work its magic and savor the taste of tender, juicy chicken that's the result of simple yet sensational ingredients. Your taste buds will thank you!

Ingredients

2 tablespoons vinegar, (cider, balsamic, or red wine)
1/2 tsp smoked paprika
1/2 tsp dried thyme
1/2 tsp dried oregano
1/2 tsp dried rosemary
1/2 tsp dried basil
1/2 tsp dried parsley
1 tsp garlic
1 tsp onion powder
1 1/2 tblsp whole grain mustard
1/4 cup extra-virgin olive oil
Freshly ground salt and black pepper
4 boneless, skinless chicken breast, each about 6 ounces

Instructions

  • Put the vinegar, herbs, mustard, powders if using and oil in a large re-sealable plastic bag.

  • Close the bag and shake to combine all the ingredients. Open the bag, drop the chicken breast into the bag. Close and shake the bag to coat evenly.

  • Marinade over night or a minimum of 3 hours in the refrigerator. You can also freeze for up to 2 weeks. (Thaw in the refrigerator overnight, under cold running water, or in the microwave.)
    Preheat oven 375°

  • Heat a non stick pan. Place the chicken on the hot pan and cook until browned on both sides (approx 4 minutes per side)

  • Place browned chicken on a parchment paper lined baking sheet and bake for 15-20 minutes, until cooked through.

Print Friendly and PDF

Recipe: Pumpkin Coffee Cake with a Cream Cheese Ribbon

Pumpkin Buttermilk Bundt Cake

Ingredients

1 cup butter softened
2 1/4 cups all-purpose
2 teaspoons baking powder
1 teaspoon baking soda
1 1/2 teaspoons cinnamon
1 teaspoon ground allspice
1/2 teaspoon salt
1 1/4 cups canned solid-pack pumpkin (from a 15-oz can; not pie filling)
3/4 cup well-shaken buttermilk
1 teaspoon vanilla
1 1/4 cups granulated sugar
3 large eggs

Instructions

  • Preheat oven to 350°F. Butter and flour bundt pan. Combine together flour, baking powder, baking soda, cinnamon, allspice, and salt in a bowl. Whisk together pumpkin, buttermilk and vanilla in another bowl.

  • Beat butter and granulated sugar in a large bowl with an electric mixer at medium-high speed until pale and fluffy, 3 to 5 minutes, then add eggs and beat 1 minute. Reduce speed to low and add flour and pumpkin mixtures alternately in batches, beginning and ending with flour mixture and mixing until batter is just smooth.

  • Spoon batter into pan. Shake a few times to be sure to remove any bumps then bake until a wooden pick or skewer inserted in center of cake comes out clean, 45 to 50 minutes. Cool cake in pan on a rack 15 minutes, then invert rack over cake and re-invert cake onto rack. Cool 10 minutes more.

Cream Cheese Filling

1 8oz pkg (250g) cream cheese (I used “light”)

¼ c. sugar

1 egg, beaten

  • Combine cream cheese, sugar and egg, mixing until well blended.

  • Reserve 2 cups of cake batter.  Pour remaining batter into bundt pan.  Pour cream cheese mixture over batter; carefully spoon reserved batter over cream cheese mixture, spreading to cover.

  • Bake at 350 degrees for about 55 minutes or until wooden pick inserted in centre comes out clean.  Cool 10 minutes; remover from pan.  Cool thoroughly.  Sprinkle with icing sugar, if desired.

Print Friendly and PDF

Recipe: Boursin Puff Pastry Appetizer

Elevate your appetizer game with our delectable Boursin Cheese & Puff Pastry bites. Creamy, herb-infused Boursin cheese meets flaky, golden puff pastry to create a harmonious blend of textures and flavors that will impress any guest. Whether you're hosting a cocktail party, a family gathering, or just looking to treat yourself, these bite-sized delights are a guaranteed crowd-pleaser. Simply spread the Boursin between two layers of buttery puff pastry, bake until golden brown, and watch them disappear in no time. It's an effortless yet elegant appetizer that proves great taste doesn't have to be complicated. Enjoy the creamy, savory indulgence of Boursin Cheese & Puff Pastry at your next gathering!

Boursin Puff Pastry Appetizer

Prep 10 minutes

Cook 25 minutes

Ingredients

2 sheets butter puff pastry

1 pkg Bousin

1 egg (for egg wash)

Instructions

  • On a parchment lined baking sheet, lay down first sheet of puff pastry and cut it into a circle. I used an upside down tart shell to cut out mine.

  • Spread evenly with Boursin cheese (you can warm it up slightly in the microwave first to make it easier to spread).

  • Place second sheet of puff pastry, also cut in a circle, overtop.

  • Use a water glass to dent & seal the centre, being careful not to cut the pastry.

  • Use a knife to cut from the outer edge of your circle to the edge of your pastry into 16 even sections.

  • Carefully twist each section twice.

  • Beat up the egg in a small bowl and use a pastry brush to brush the egg over the pastry.

  • Bake at 375F for 20-25 minutes, or until pastry is golden. Serve while warm. Enjoy!

Print Friendly and PDF

Rant: Three Pasta Recipes That Are Perfect for Fall

As autumn blankets the world in hues of red, gold, and amber, there's no better way to celebrate the season than by indulging in comforting pasta dishes that warm the soul. In this blog post, we'll take you on a culinary journey through three amazing pasta recipes, each infused with a touch of vodka to elevate your fall dining experience.

  1. One-Pot Roasted Red Pepper Pasta

Indulge in a symphony of flavors with our delectable Roasted Red Pepper Pasta! This recipe combines the smoky sweetness of roasted red peppers with the creamy richness of Parmesan cheese and a hint of garlic for a mouthwatering pasta experience. Roasting the peppers intensifies their flavor, creating a sauce that's velvety, vibrant, and utterly irresistible. Toss it with your favorite pasta, garnish with fresh basil, and savor every bite of this easy-to-make, restaurant-quality dish that will leave your taste buds singing. Whether it's a weeknight dinner or a special occasion, this Roasted Red Pepper Pasta will elevate any mealtime moment. Find the recipe here.

2. Goat’s Cheese & Mushroom Spaghetti

Elevate your pasta game with our Goat Cheese & Mushroom Spaghetti recipe! This dish is a celebration of earthy mushrooms and the creamy decadence of goat cheese coming together in perfect harmony. Sautéed mushrooms lend their rich umami flavor, while the tangy goat cheese creates a velvety sauce that clings lovingly to every noodle. A sprinkle of fresh basil and a dash of garlic complete the experience, making it a delightful medley of tastes and textures. Whether you're a vegetarian looking for a hearty meal or simply a lover of savory pasta, this recipe is sure to become a cherished favorite. Treat your taste buds to a gourmet experience with Goat Cheese & Mushroom Pasta tonight! Find the recipe here.

3. Sweet Potato Gnocchi…Alla Vodka

Indulge in a taste of comfort and elegance with our Sweet Potato Gnocchi recipe! These pillowy, handmade pastas are crafted from fresh sweet potatoes, providing a delightful balance of sweetness and earthiness. The gnocchi are pan-seared to perfection, offering a delectable contrast between their crispy exterior and tender interior. A spicy tomato and goat’s cheese sauce adds a fragrant richness that elevates every bite. Finished with a pan-seared pancetta and a sprinkle of Parmesan cheese, this dish is a celebration of fall flavors that will warm your heart and satisfy your cravings. Sweet Potato Gnocchi - a delicious embodiment of cozy evenings and culinary artistry.

This fall, embrace the changing leaves and cooler evenings with these three delectable pasta dishes, each with ingredients to infuse a touch of elegance and richness. Whether you're hosting a dinner party or treating yourself to a cozy night in, these recipes are sure to delight your taste buds and bring the flavors of the season to life. Cheers to the beauty of autumn and the joy of culinary creativity!

Print Friendly and PDF

Recipe: Sweet Potato Gnocchi alla Vodka

Indulge in a taste of comfort and elegance with our Sweet Potato Gnocchi recipe! These pillowy, handmade pastas are crafted from fresh sweet potatoes, providing a delightful balance of sweetness and earthiness. The gnocchi are pan-seared to perfection, offering a delectable contrast between their crispy exterior and tender interior. A spicy tomato and goat’s cheese sauce adds a fragrant richness that elevates every bite. Finished with a pan-seared pancetta and a sprinkle of Parmesan cheese, this dish is a celebration of fall flavors that will warm your heart and satisfy your cravings. Sweet Potato Gnocchi - a delicious embodiment of cozy evenings and culinary artistry.

Sweet Potato Gnocchi

Ingredients

100g pancetta
3 cups mashed sweet potato 1 egg
1tsp salt
3 cups flour
1⁄4 cup butter
1⁄2 medium red onion
2 cloves garlic
1 tsp chili flakes
1 can tomato paste
1 cup whipping cream
50 g goats cheese
1⁄2 cup grated parmesan Salt
Pepper

Instructions

  • Combine mashed sweet potatoes, egg, salt, and flour in a medium bowl. Mix until it forms a stiff pasta dough (add more flour as needed).

  • Chill for 1 hour, then roll into 1 inch logs and cut into gnocchi shaped pieces and/or roll with a gnocchi board if you have one.

  • Add the gnocchi pieces to a pot of salted boiling water and cook until the pasta floats to the top. Remove with a slotted spoon and set aside on a paper-towel lined plate.

  • Mince the garlic and dice the onion. In a sauce-pan, melt the butter and add the garlic and onions.

  • Cook until soft and then add the chili flakes followed by the tomato paste. Allow this to cook for a few minutes more, then add the whipping cream.

  • When the sauce is heated through, stir in the parmesan and goat’s cheese. Salt and pepper to taste.

  • In a non-stick pan, heat two tablespoons of butter. Add the pancetta and gnocchi (in batches) and cook until golden and crispy. Plate and add a spoonful of sauce, topping with freshly cracked pepper and a little extra Parmesan.

Print Friendly and PDF

Recipe: Goat's Cheese & Mushroom Spaghetti

Elevate your pasta game with our Goat Cheese & Mushroom Spaghetti recipe! This dish is a celebration of earthy mushrooms and the creamy decadence of goat cheese coming together in perfect harmony. Sautéed mushrooms lend their rich umami flavor, while the tangy goat cheese creates a velvety sauce that clings lovingly to every noodle. A sprinkle of fresh basil and a dash of garlic complete the experience, making it a delightful medley of tastes and textures. Whether you're a vegetarian looking for a hearty meal or simply a lover of savory pasta, this recipe is sure to become a cherished favorite. Treat your taste buds to a gourmet experience with Goat Cheese & Mushroom Pasta tonight!

Goat Cheese & Mushroom Spaghetti 

Serves 4

Ingredients:

400 gram bag spaghetti, or pasta of choice

1/4 cup garlic and herb butter, or regular butter will work

Small goat cheese block - I am using PC soft herbed goat milk cheese (140g)

2 tbsp olive oil

1 shallot, chopped fine

3 large garlic cloves, chopped fine

1/4 tsp red pepper flakes

1 cup heavy whipping cream

2 cups (ish) mushrooms, roughly chopped

1 cup parmesan cheese, grated

3/4 cup reserved pasta water

Salt + pepper to taste

Fresh basil (optional)

Instructions

  • Begin by bringing a large pot of salted water to a boil. Add your spaghetti and cook until al dente.

  • In the meantime, to a large pan add you butter and olive oil and once melted add your shallot, garlic and red pepper flakes and sauté for 2-3 minutes on low/medium heat.

  • Add your mushrooms and sauté for another 1-2 minutes just until mushrooms get soft.

  • *Add your heavy cream, and bring to a light boil for about 2 minutes, just until slightly reduced.

  • Add your goat cheese, and mix until combined. 

  • Add your parmesan cheese and mix until combined. (If the sauce is thick, don’t worry you will thin it out with pasta water).

  • Taste here for any salt or pepper. Typically I don’t add salt to this as the parmesan and goat cheese is salty.

  • Add your cooked spaghetti, adding pasta water as you go to achieve your desired consistency. 

  • Top with fresh basil and enjoy right away!

Print Friendly and PDF

Recipe: One-Pot Roasted Red Pepper Pasta with Toasted Breadcrumbs

Indulge in a symphony of flavors with our delectable Roasted Red Pepper Pasta! This recipe combines the smoky sweetness of roasted red peppers with the creamy richness of Parmesan cheese and a hint of garlic for a mouthwatering pasta experience. Roasting the peppers intensifies their flavor, creating a sauce that's velvety, vibrant, and utterly irresistible. Toss it with your favorite pasta, garnish with fresh basil, and savor every bite of this easy-to-make, restaurant-quality dish that will leave your taste buds singing. Whether it's a weeknight dinner or a special occasion, this Roasted Red Pepper Pasta will elevate any mealtime moment.

One-Pot Roasted Red Pepper Pasta with Toasted Breadcrumbs

Total Time 1 hr 30 min

Prep 15 min

Cook 1 hr 15 min

Serves 4

Ingredients

4 medium Red bell peppers

1 small Uncooked onion

4 cloves Garlic clove

¼ tsp Crushed red pepper flakes

½ tsp Dried basil

½ tsp Dried oregano

½ tsp Table salt

¼ tsp Black pepper

⅛ tsp Freshly grated nutmeg

⅛ tsp Smoked paprika

2 Tbsp Olive oil

4 Tbsp Canned unsalted tomato paste

⅓ cup Basil, plus more for garnish (optional)

13½ fl oz Reduced fat coconut milk

3½ cups Store-bought chicken stock (or vegetable stock)

1 pound Uncooked rigatoni

¼ cup Seasoned breadcrumbs

1½ tsp Olive oil

½ cup Grated Parmigiano-Reggiano

Instructions

  • Preheat oven to 450°F. Arrange the red peppers on a small baking sheet. Roast 40 to 50 minutes, until blackened all over, turning over halfway through. Remove from the oven.

  • Meanwhile, finely chop the onion and garlic. When the red peppers are cool enough to handle, remove skin and seeds.

  • Heat a large deep skillet or Dutch oven on medium. Add 2 tbsp olive oil. Add the onion and cook 4 to 5 minutes, until translucent, stirring occasionally. Stir in the garlic, crushed red pepper, dried basil, dried oregano, salt, pepper, nutmeg, and smoked paprika. Cook 1 minute, stirring.

  • Add the tomato paste. Cook until paste turns a dark red, about 3 minutes, stirring often. Reduce heat to low. Add the peeled red peppers, fresh basil, coconut milk, and 3 cups of chicken stock.

  • With an immersion blender, puree contents of skillet until smooth. Increase heat to medium and heat to a boil. Stir in the pasta. Simmer 10 to 15 minutes, until pasta is cooked, stirring occasionally. If sauce seems thick partway through cooking, add remaining 1/2 cup chicken stock.

  • While the pasta cooks, add breadcrumbs and 1 1/2 tsp olive oil to a small pot. Cook on medium 3 to 4 minutes, or until crumbs are golden brown, stirring often.

  • Divide cooked pasta among 4 plates. Top with the toasted breadcrumbs and Parmigiano. Garnish with basil, if desired.


Print Friendly and PDF

Roasted Garlic and Butternut Squash Soup

If you're craving a cozy bowl of comfort on a chilly evening, look no further than this Roasted Garlic and Butternut Squash Soup recipe. The rich, earthy flavors of roasted garlic and sweet butternut squash come together in a velvety-smooth soup that's perfect for warming both body and soul. Roasting the garlic and butternut squash before blending them creates a depth of flavor that's simply irresistible. Top it off with some roasted pumpkin seeds for the ultimate autumnal indulgence. This soup is not just a meal; it's a hug in a bowl, guaranteed to satisfy your fall cravings.

Roasted Garlic and Butternut Squash Soup

Prep Time: 10 minutes

Cook Time: 1 hour 

Total Time: 1 hour 10 minutes

Serves: 6

Ingredients

1 large butternut squash halved, seeded and scored

1 honey crisp apple, halved

1 vidalia  onion, peeled and quartered

2 heads garlic, tops cut off

2 tablespoons extra virgin olive oil, plus extra to drizzle over garlic. 

3 sprigs thyme, stems remain ved

1 tsp paprika

1/2 teaspoon ground nutmeg 

1/2 teaspoon ground ginger 

3 tablespoons salted butter

5 cups vegetable stock

1/2 cup of heavy cream

Instructions

  1. Preheat oven to 400°F. Line a baking sheet with parchment paper.

  2. To a baking dish or rimmed sheet pan add the squash, onion, garlic to the baking sheet, cut sides facing up. Brush the cut sides of the vegetables with olive oil and season with paprika, salt, pepper and thyme. 

  3. Cut the tops off your garlic bulbs and place them onto of a piece of aluminum foil (large enough to warp the garlic). Drizzle some olive oil over top, a pinch of salt and pepper then fold all corners together and twist to seal the package. Place the two garlic parcels onto the baking sheet.

  4. Turn the squash and apple cut-side down onto the sheet pan and roast for 30-40 minutes, until the squash is fully cooked. If the onion and garlic are roasted before the squash, remove them from the sheet pan and return the squash to the oven and allow it to cook for an additional 10 minutes if needed. 

  5. Remove from oven and allow to the squash and roasted garlic to cool. Then scoop out the roasted squash, squeeze out the roasted garlic, remove the peel from the apple and add everything including the onion into the bowl of a food processor or powerful blender (I used my Vitamix). Blend until smooth.

  6. In a large stockpot, pour in the squash puree, add butter, ginger, nutmeg, and vegetable stock. Bring to a boil and simmer gently for 15-20 minutes. Remove from heat and whisk in the heavy cream.

  7. Garnish with a dollop of sour cream, a drizzle of spicy chilli oil, and a sprinkle of pumpkin seeds and serve immediately. 

Author: Mary Mammoliti / Kitchen Confession / kitchenconfession.com

Print Friendly and PDF

Rant: 5 Delicious and Satisfying Plant-Based Meals

A full leaf of Kale in the centre on a counter top surrounded by round slices of carrots and cucumer, half moon slices of radish, and lemon

What are some of the benefits of incorporating more plant-based meals into your diet?

Incorporating more plant-based meals into your diet can have numerous health benefits, including a lower risk of heart disease, and diabetes. Plant-based diets are also typically higher in fiber, which can help with digestion and satiety, and they can be more environmentally sustainable than meat-based diets.

I've been on a mission to incorporate more plant-forward meals into my diet and today, I'm going to share with you some ideas for delicious and satisfying plant-based meals that you can easily whip up on any weeknight. Whether you're a seasoned vegan or just looking to eat a little more plant-based, these meals check all the boxes.

First up, let's talk about stir-fry. This is one of my go-to meals for busy weeknights because it's quick, easy, and endlessly customizable. To make a plant-based stir-fry, start by sautéing some garlic, ginger, and vegetables of your choice in a wok or large skillet. I like to use a mix of bell peppers, onions, broccoli, and snap peas, but you can use whatever veggies you have on hand. Once the veggies are tender-crisp, add in some tofu or tempeh for protein, and your choice of sauce. I like to use a combination of soy sauce, hoisin sauce, and chili garlic sauce. Serve over rice or noodles, and you've got a delicious plant-based meal in under 30 minutes. If you do not like tofu and want to get a healthy portion of protein an alternative I use are edamame and maybe even sprinkle hemp seeds at the very end before mixing or serve over cooked quinoa.

What about tacos? I would imagine lots of pant-based options using tacos. What are some of the best plant-based taco toppings?

Who doesn't love tacos? And you are correct, the great thing about tacos is that they're easily adaptable to a plant-based diet. Some of the best plant-based taco toppings include avocado, salsa, diced tomatoes, shredded lettuce or cabbage, chopped cilantro (if you like that if not I substitute with parsley), and lime juice. Other options could be pickled onions, jalapeños, or vegan sour cream.

For plant-based tacos, start by sautéing some onion and garlic in a skillet. Then, add in some crumbled tofu or tempeh and your choice of taco seasoning. Cook until the tofu or tempeh is heated through and coated in the seasoning. Serve in tortillas with your favourite taco toppings, like avocado, salsa, cilantro, and lime.

Can salads be filling enough to be a main course? What are some ingredients that can make a salad more substantial?

Another great weeknight meal is a hearty salad. Don't think of salads as just a side dish - with the right ingredients, they can be a satisfying and filling main course. Start with a bed of greens, like spinach or kale, and add in some roasted vegetables, like sweet potatoes or beets. Then, add in some protein, like chickpeas or quinoa, and top with a flavuorful dressing, like a tahini lemon dressing or a balsamic vinaigrette. You'll be surprised at how filling and satisfying a big salad can be.

What are some of the best plant-based burger options on the market?

There are many great plant-based burger options on the market today, including Beyond Meat, Impossible Foods, and Morningstar Farms. Other options include Trader Joe's Plant-Based Burgers, Gardein Ultimate Beefless Burgers, and Dr. Praeger's Perfect Burger.

If you're looking for something a little more substantial, how about a plant-based burger? There are so many great options on the market these days, but you can also make your own at home. Try making a burger patty out of cooked quinoa, black beans, and spices. Then, top with your favorite burger toppings, like avocado, tomato, and lettuce. Serve with a side of roasted sweet potato fries, and you've got a satisfying and delicious plant-based meal.

How can you make a simple and flavourful plant-based pasta dish at home?

You can still enjoy pasta on a plant-based diet! Start by cooking your favorite pasta according to the package directions. Then, sauté some garlic, onion, and vegetables of your choice in a skillet. I like to use a mix of mushrooms, spinach, and sun-dried tomatoes. Once the veggies are cooked through, toss with the cooked pasta and a simple sauce made from olive oil, lemon juice, and red pepper flakes. Top with some fresh basil and vegan parmesan cheese, and you've got a delicious plant-based pasta dish that will have you going back to the pot for seconds.

So there you have it - five delicious and satisfying plant-based meals that are perfect for weeknight dinners. Whether you're a seasoned vegan or just looking to incorporate more plant-based meals into your diet, these meals are sure to please. By using a variety of colorful vegetables, healthy protein sources, and flavorful sauces and spices, you can create plant-based meals that are just as satisfying and delicious as their meat-based counterparts. So next time you're looking for a quick and easy weeknight meal, try out one of these plant-based options and enjoy all the health benefits that come with a more plant-forward diet.

Print Friendly and PDF

Rant: How To Clean And Care For Your Cast Iron Pans

Spring is finally here, and for many, that means it's time for some spring cleaning. One of the most coveted items in the kitchen is the cast iron pan, known for its durability and versatility. However, maintaining a cast iron pan can be a point of contention among cooks. To help settle any debates, let's answer some common questions about how to maintain cast iron cookware.

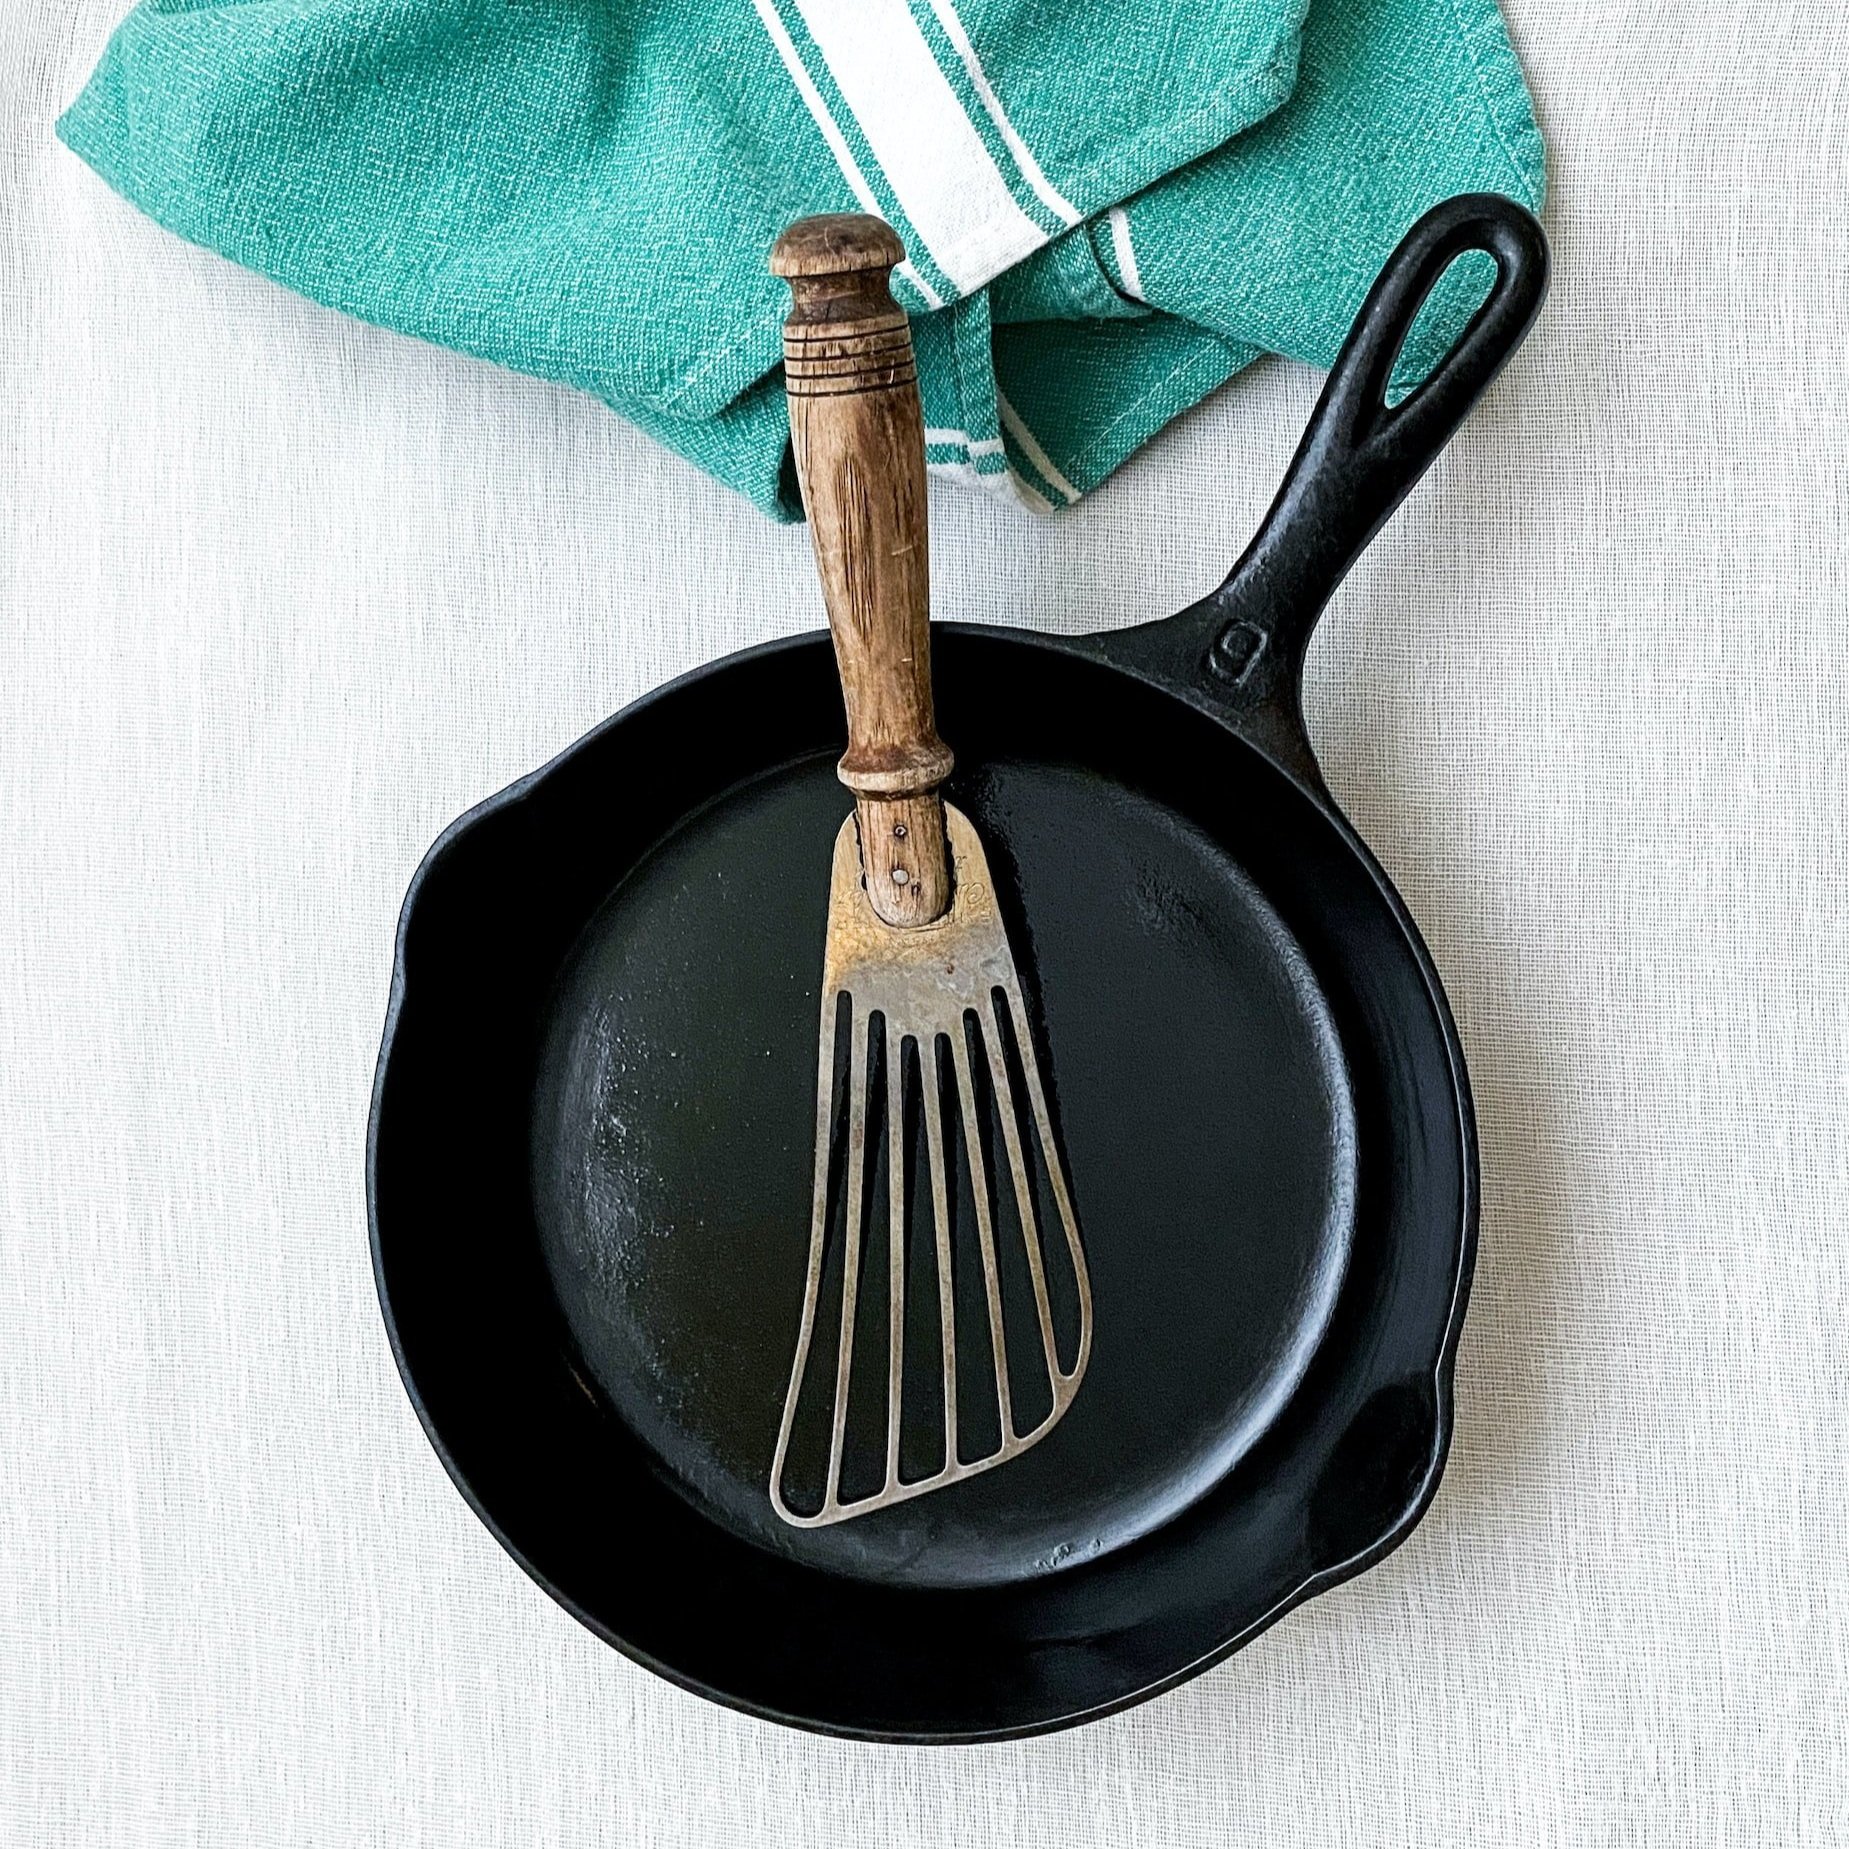
a round black cast iron pan with an antique metal spatula and wooden handle set inide the pan and a green and one white stripe kitchen towel just above it. All are resting on a white counter top

First and foremost, let's tackle the issue of cleaning.

Soap or No Soap?

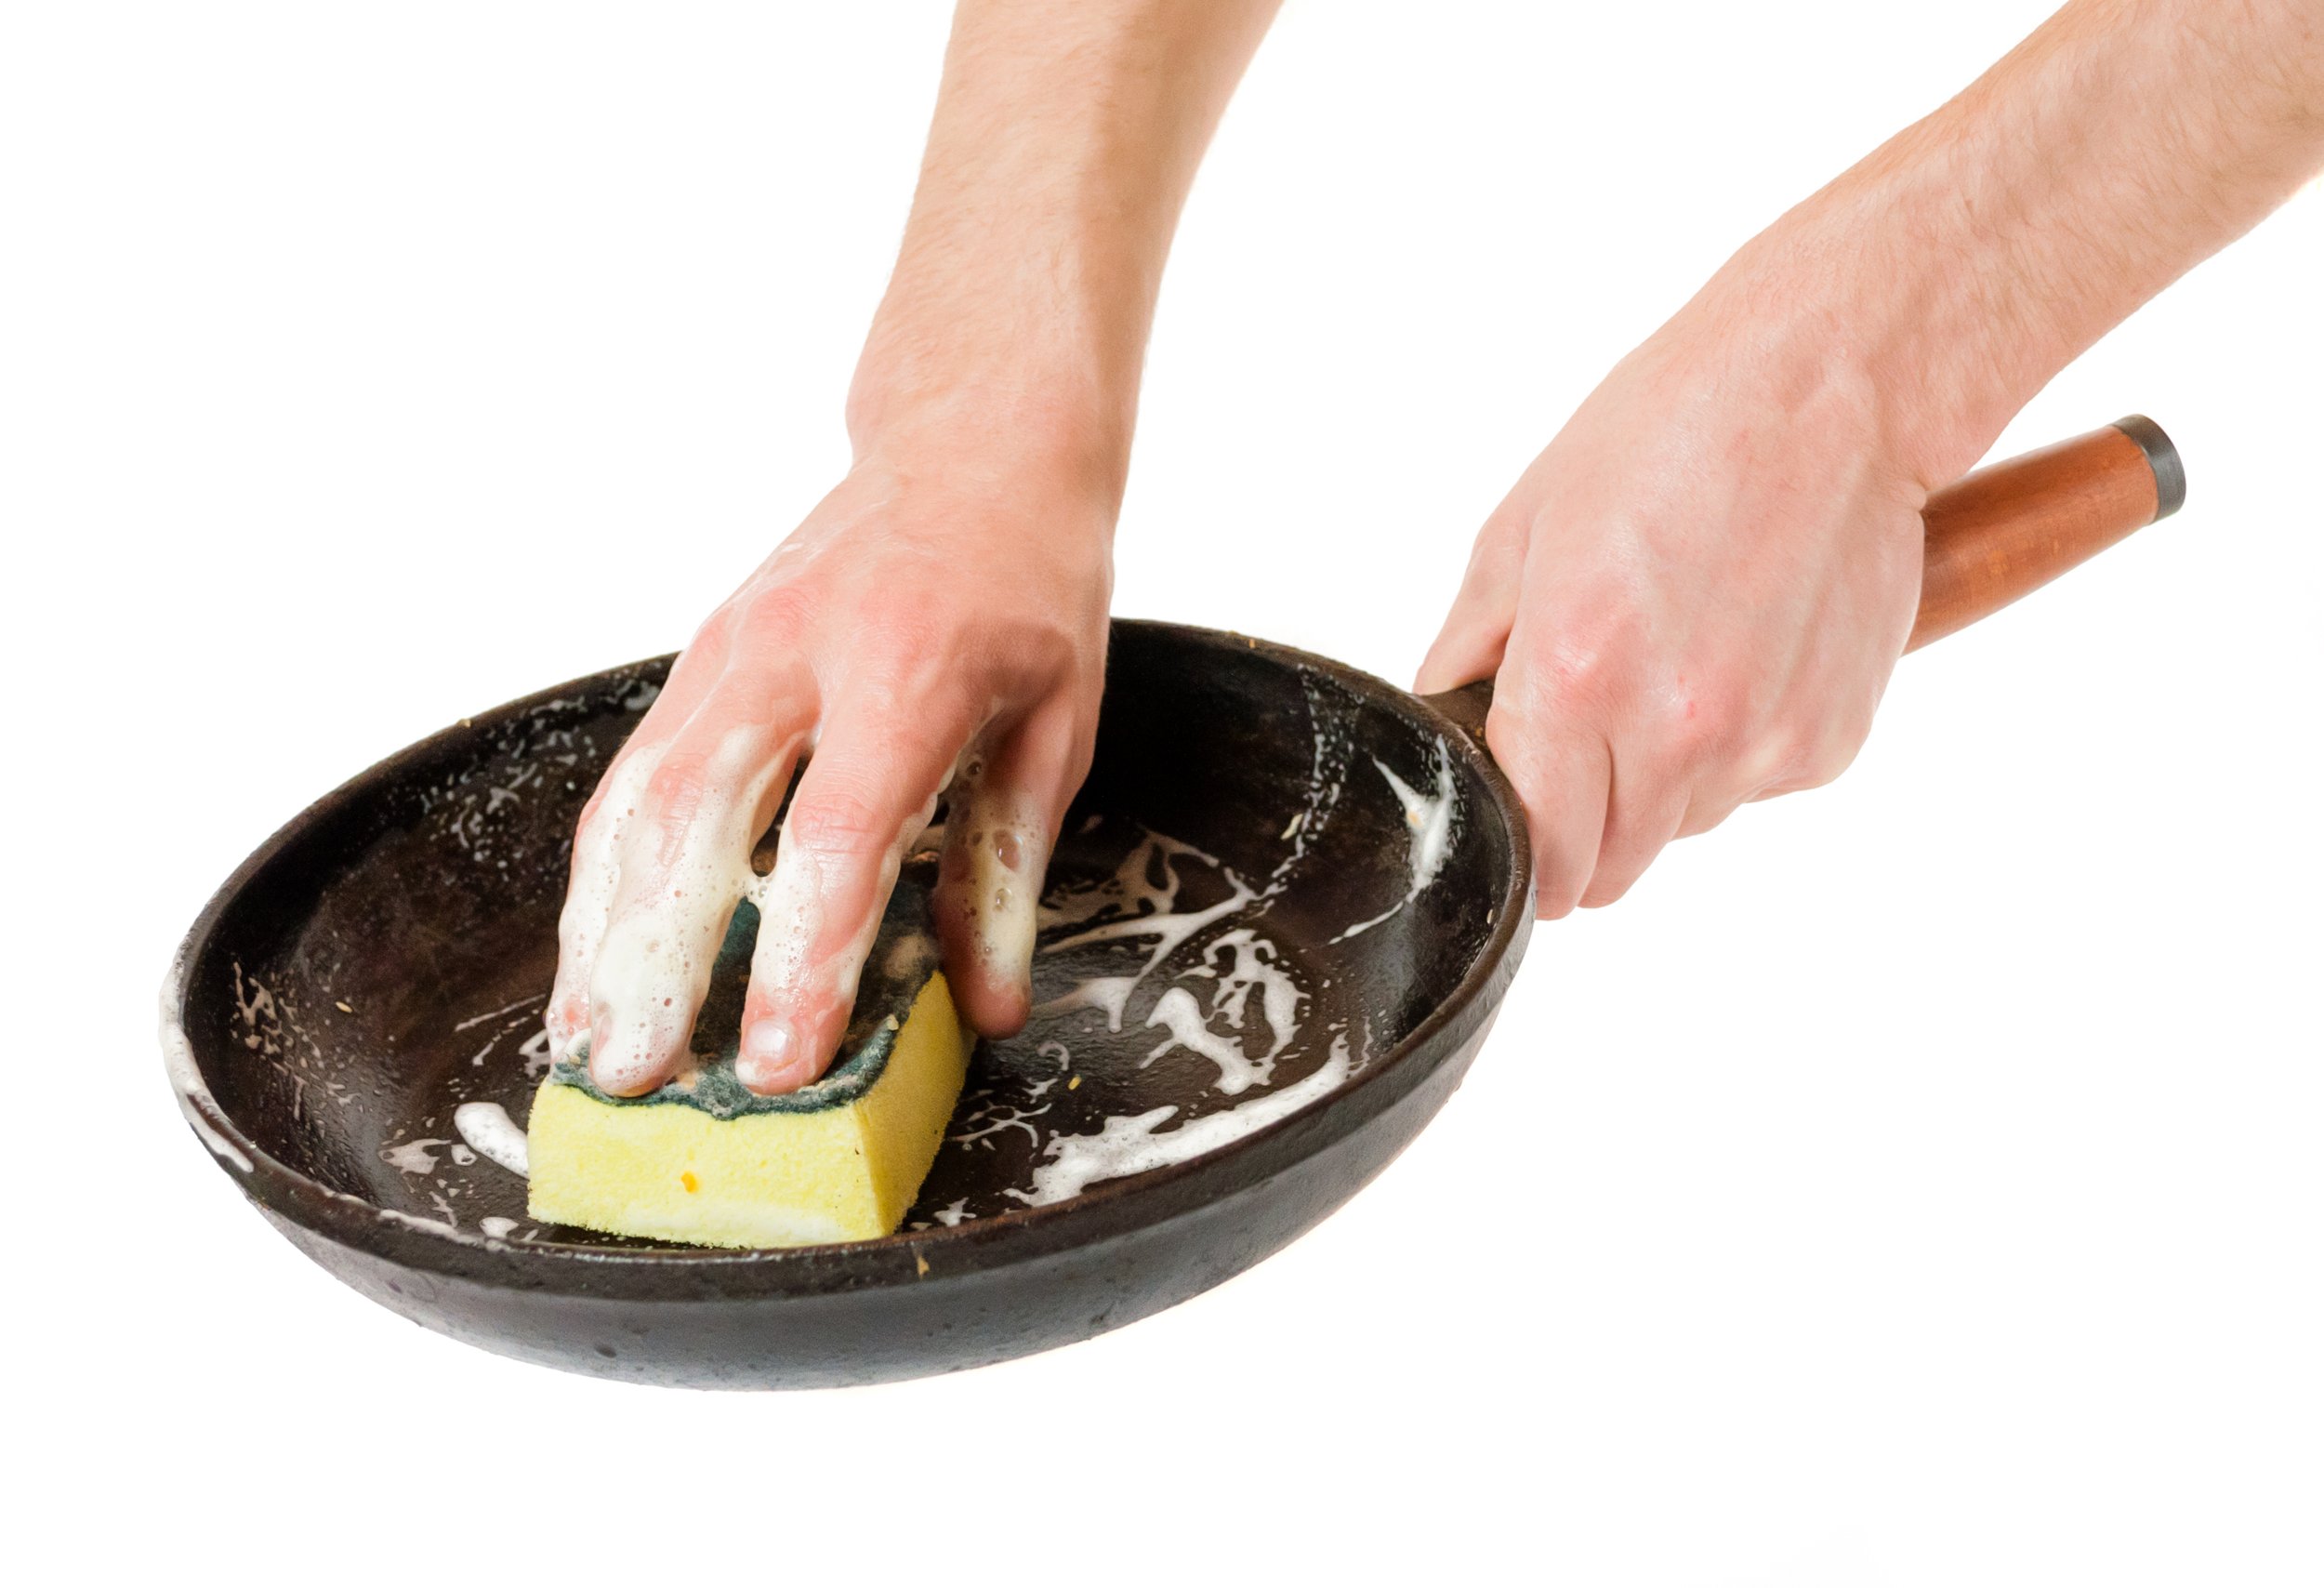
The question of whether or not to use soap on a cast iron pan can cause some strong opinions. Some swear by never using soap, while others have no issue using mild dish soap. According to experts, using a little bit of soap is perfectly fine, but be sure to use a scouring pad or a cast iron pan cleaning brush. After washing and scrubbing, rinse the pan well, and wipe it out with a paper towel. It's also recommended to season the pan every so often.

However, one thing you should never do is soak your cast iron pan. Soaking can lead to rust development, so avoid dishwashers and prolonged exposure to water. If you need to soften up crusted-on food before washing, heat the pan on the stove with water and scrape off the bits with a wooden spatula as it comes to a boil.

What does “Seasoning” mean?

Now, let's talk about seasoning. Seasoning is the process of oil bonding to the iron to create a natural, easy-release cooking surface that also helps prevent rusting.

Option One: To season your cast iron pan, heat it on the stove until it's really hot, and then using a pair of silicone oven mitts, pour a little oil on a bunched-up paper towel and rub it all over the pan. Be sure to wipe off any excess oil, and when storing the seasoned pan, cover the cooking surface with a paper towel or kitchen towel.

Option Two: You can also season your cast iron pan in the oven, by washing and drying it, adding a thin, even coat of oil, and placing it upside down in a preheated 350 degree F oven for an hour.

What Oil should I use to season the pan?

When it comes to choosing an oil for seasoning, many cast iron enthusiasts swear by flaxseed oil. However, because it can be a pricier and more fragile option that needs refrigeration, canola oil is often the next best choice.

Ugh! Why is my pan sticky?

If your cast iron pan becomes sticky or gummy, it's likely due to using too much oil when seasoning. To remedy this, wash the pan with soap and hot water to remove the excess oil, and then re-season it using just a thin, thin, thin coating of oil.

Do I need to season a new pan that’s pre seasoned?

Finally, if you have a new pan that says it's already seasoned, it's still a good idea to give it a little extra protection before using it for the first time, and always season it again after use.

my two cents…..

Bottom line, maintaining a cast iron pan may require a little extra care, but it's well worth it for a durable and versatile cooking tool that can last for generations. So, whether you're on team suds or team no-soap, just remember to avoid soaking, season regularly, and use a thin coating of oil to prevent stickiness. Happy cooking!

Print Friendly and PDF

Recipe: Butternut Squash and Kale Cavatelli

It’s spring but someone forgot to remind Mother Nature of the temperature change. Even though it’s a little less like spring outside it doesn’t stop me from craving the light bright meals that remind me of the season. One dish that's perfect for this time of year is Butternut Squash and Kale Cavatelli. This pasta dish is packed with healthy veggies and comforting tiny pasta. If you still need a reason to try this recipe here are a few more reasons as to why you should give this recipe a try:

  • Butternut Squash is a Nutritional Powerhouse

  • Butternut squash is a great source of fiber, vitamins A and C, and potassium. Not only does it add a sweet and nutty flavor to the dish, but it also provides important nutrients that support your overall health.

  • Kale is a Superfood

  • Kale is another healthy ingredient in this dish that provides a variety of health benefits. Kale is high in antioxidants, vitamin K, and iron. It's also a great source of fiber and can help support healthy digestion.

  • Cavatelli is a Delicious and Versatile Pasta

  • Cavatelli is a type of pasta that's perfect for this dish. Its small size and shape make it easy to combine with the other ingredients, and its chewy texture adds a great contrast to the soft butternut squash. Plus, you can easily substitute other types of pasta if you prefer.

  • The Flavors of Fall

  • Roasting the butternut squash adds a nutty and sweet flavor, while the kale provides a slightly bitter taste that balances out the dish. The addition of Parmesan cheese adds a salty and savory kick to the dish.

Butternut Squash and Kale Cavatelli is easy to make, packed with healthy ingredients, and puts an instant smile on your face :) Give it a try andlet me know what you think. I love hearing from you.

Butternut Squash and Kale Cavatelli

Prep Time 20 minutes
Cook Time 25 minutes
Total Time 45 minutes
Servings 4 servings

Ingredients

  • 1 medium butternut squash, deseed and cut into 1/2 inch cubes

  • 2 cups firmly-packed chopped kale

  • 4 unpeeled cloves garlic

  • 6 tablespoons extra-virgin olive oil

  • 1 tablespoon fresh minced thyme

  • Salt and pepper to taste

  • 1/2 cup chicken stock

  • 2 tablespoons unsalted butter

  • 1/4 tsp red pepper flakes

  • 1 16 oz. bag (8 cups) of cavatelli, cooked according to package instructions

  • 1/3 cup grated Parmesan cheese

Instructions

  • Preheat oven 400F and place butternut squash in a single layer on a rimmed baking sheet, leaving room for the kale and garlic. Drizzle olive oil, thyme, and salt and pepper to taste over everything, toss to coat and roast for 25-30 minutes until squash and garlic is tender and kale is crispy. Remove skins from garlic, finely mash into a paste, and toss into butternut squash/kale.

  • Divide the roasted squash and add 1/2 to a small bowl, top with chicken stock and blend into a pure using an immersion blender, set aside.

  • In a large pan add butter, the remaining half roasted butternut squash, kale, garlic paste, squash puree and heat through.

  • Pour in the cooked cavatelli and tossing until everything is combined and cook for 2 minutes. Remove from heat, season with additional salt and pepper is needed, mix in the parmegiano reggiano and enjoy!

Print Friendly and PDF